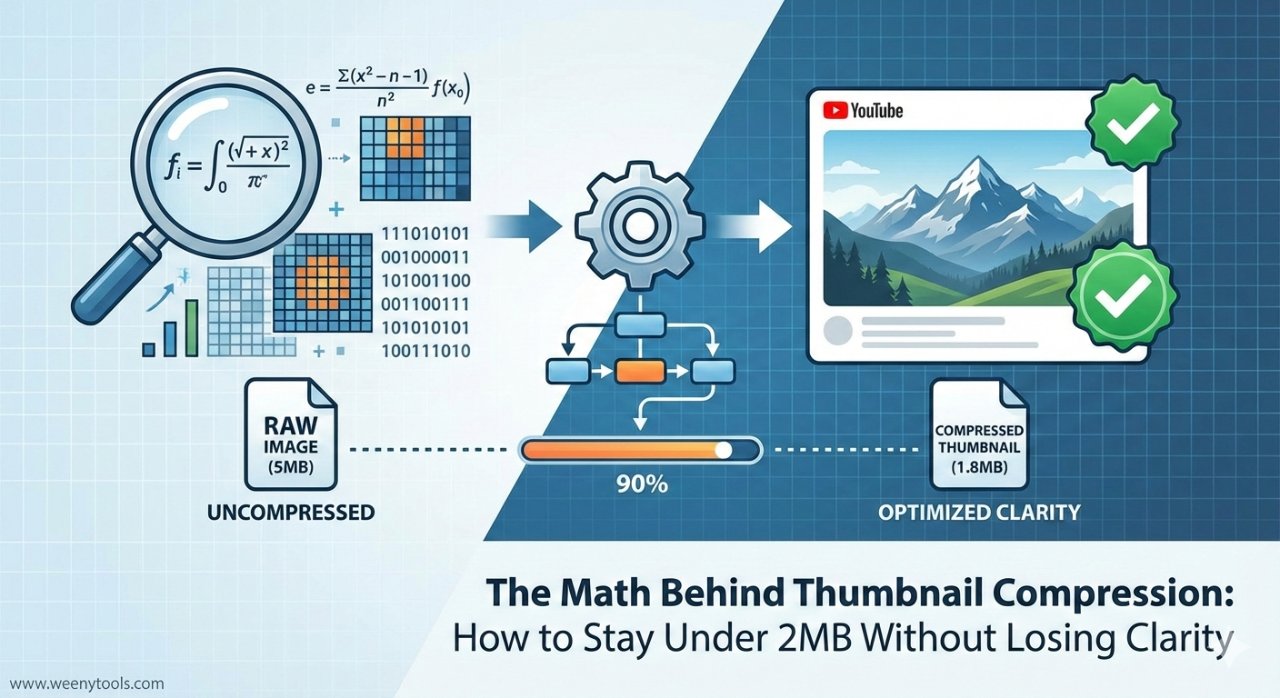
The Math Behind Thumbnail Compression: How to Stay Under 2MB Without Losing Clarity
As a software engineer, I wanted to see how YouTube’s compression algorithms actually work. While building WeenyTools’ YouTube Thumbnail Downloader, I noticed something interesting: thumbnails with heavy red gradients often artifact more than blue ones because of how the 4:2:0 chroma subsampling works in JPEG compression. This discovery led me down a rabbit hole of image compression mathematics that every serious creator should understand.
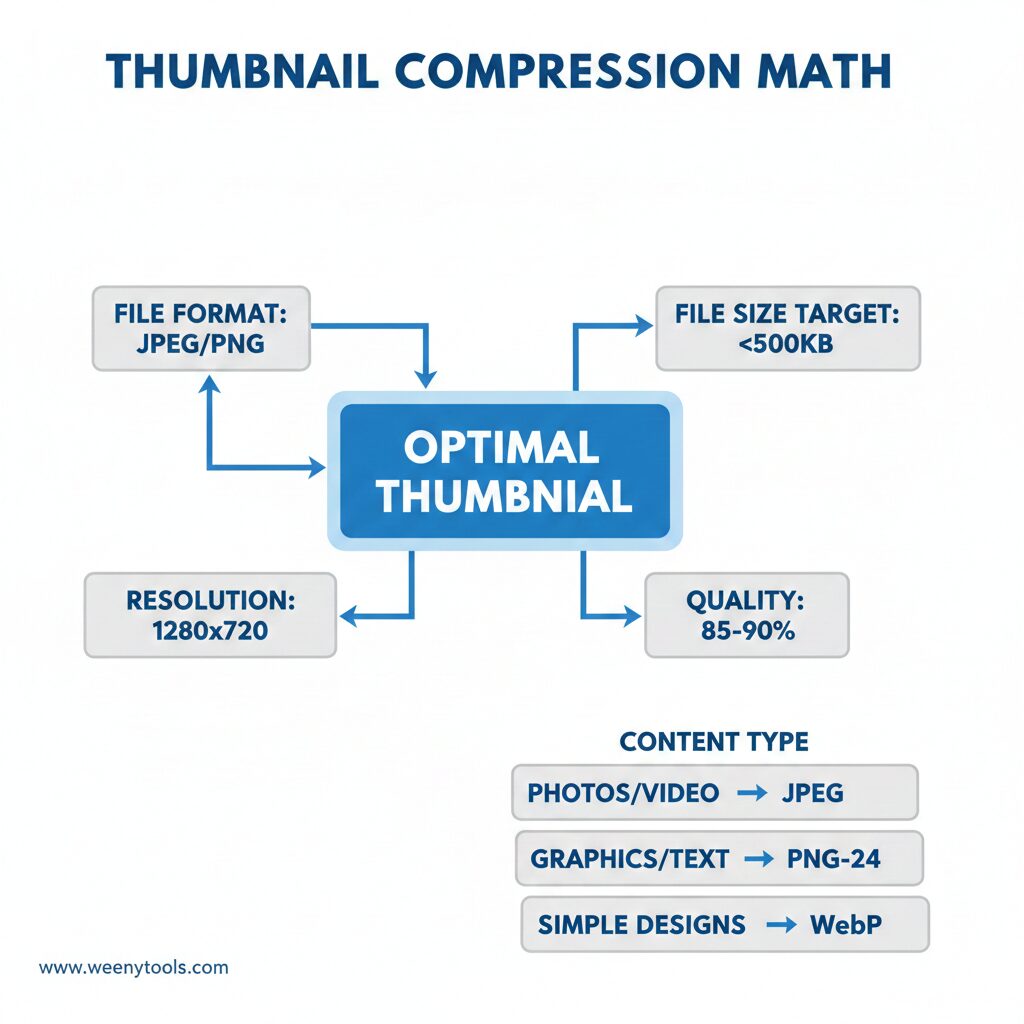
| Factor | Ideal Setting | Why It Matters |
|---|---|---|
| File Format | JPEG (JPG) | Best balance for photographic content |
| Resolution | 1280×720 pixels | YouTube’s HD standard |
| File Size Target | Under 500KB | Safe margin below 2MB limit |
| Quality Level | 85-90% | Optimal clarity vs size |
| Color Profile | sRGB | Web standard, prevents color shifts |
Understanding YouTube’s Compression Pipeline
When you upload a thumbnail, YouTube doesn’t just shrink the file – it runs complex algorithms that analyze and reconstruct your image. The process involves three main stages:
- Color Space Conversion: Images convert from RGB to YCbCr, separating brightness from color
- Chroma Subsampling: Color data reduces (4:2:0) because eyes prioritize brightness
- Frequency Analysis: Image breaks into 8×8 blocks for compression
4:2:0 subsampling keeps only one pixel’s color info for every 4 pixels. This explains why red-heavy images show more artifacts – the algorithm favors luminance over specific colors.
Why 2MB Isn’t Your Real Target
YouTube allows 2MB thumbnails but recompresses everything. A 500KB optimized file survives better than a poorly encoded 2MB file. YouTube’s compression is like a fixed-size pipe: pre-optimized content passes cleanly; oversized content gets mangled.
Practical Compression Steps
Step 1: Start with Correct Dimensions
Always use 1280×720 pixels (16:9). Larger sizes don’t improve quality – they just give YouTube more data to compress poorly. For detailed sizing guidance, see our guide on YouTube thumbnail dimensions.
Step 2: Choose Optimal Format
| Content Type | Best Format | Quality | Typical Size |
|---|---|---|---|
| Photos/Video frames | JPEG | 85-90% | 200-500KB |
| Graphics with text | PNG-24 | Lossless | 300-700KB |
| Simple designs | WebP | 80-85% | 150-400KB |
Use our YouTube Thumbnail Resizer to test compression levels side-by-side. See exactly how settings affect file size and quality before uploading.
Step 3: Optimize Colors Before Compression
Compression works better on certain colors:
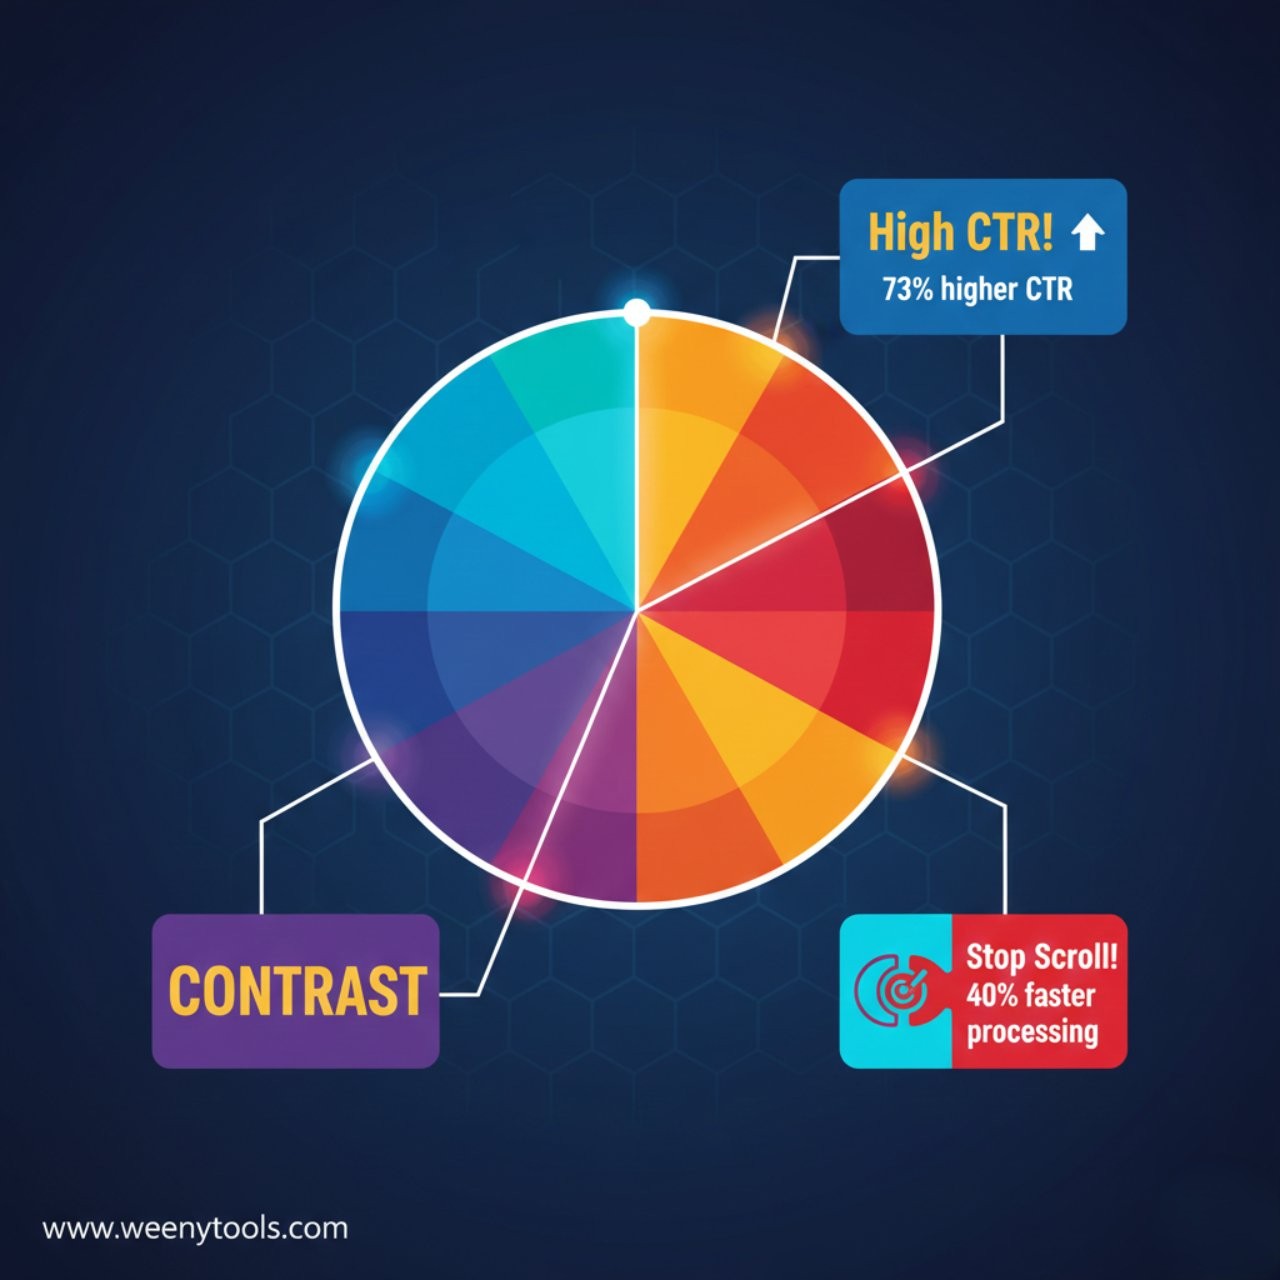
- Blue gradients compress cleaner than red ones
- High-contrast edges maintain clarity better
- Remove noise and grain – they compress poorly
- Solid colors compress extremely well
This aligns with effective thumbnail design: clean, high-contrast designs survive compression better.
Common Mistakes to Avoid
1. Double Compression
Compressing an already-compressed image causes “generation loss” – quality degrades exponentially. Always start from original files.
2. Using Outdated Tools
Modern tools (like those in our recommended tools list) use better algorithms. The difference can save 100KB+ at equal quality.
“Creators can lose 20% thumbnail clarity using basic ‘Save for Web’ versus optimized compression. That 20% could decide whether viewers click or scroll past.”
Testing Before Uploading
Follow this simple test workflow:
- Save at 85% JPEG quality
- Check file size (target: 200-500KB)
- View at 100% zoom
- Squint – is text still readable?
- Check for blocky edges
To analyze existing thumbnails, use our Downloader to study compression patterns.
Mobile Considerations
70%+ YouTube views are on mobile. Artifacts barely visible on desktop glare on phone screens. Always check thumbnails on mobile before finalizing.
Final Thoughts
Thumbnail compression mastery means working with constraints, not against them. The math shows certain designs naturally survive compression better. Clean layouts, high contrast, and smart color choices both look good and compress well.
YouTube will compress your thumbnail regardless. By pre-optimizing to 500KB with intelligent settings, you control the final quality. Tools like our Resizer give creators this control without technical complexity.
For more thumbnail guidance, explore our articles on thumbnail importance for growth and common thumbnail mistakes.
The compression algorithm sees math, not content. Your job is creating content that survives the math. Every design choice has compression consequences. Understand them, and your thumbnails will stay crisp everywhere.